Finding a fresh scratch on your car is an instant gut punch. Whether someone accidently hit with a shopping cart, children can throw a ball at your car when it’s parked outside, or a mysterious parking lot incident, car scratches happen to the best of us. Calling a local garage is not mandatory. Instead, knowing how to remove scratches from a car can save your money from higher expenses.
Learning How to Remove Scratches from Car surfaces at home is entirely doable, even if you are not really a car enthusiast or have zero knowledge on its parts. This isn’t rocket science but a necessary lesson which can keep your wallet from flowing out.
Fixing a deep scratch in the same way as you treated the light scratch can’t help you fix the car surface. So let’s walk through this blog and learn how to understand different types of scratches and how to fix them flawlessly.
Understanding How Deep Your Car Scratch (Thumbnail Test)
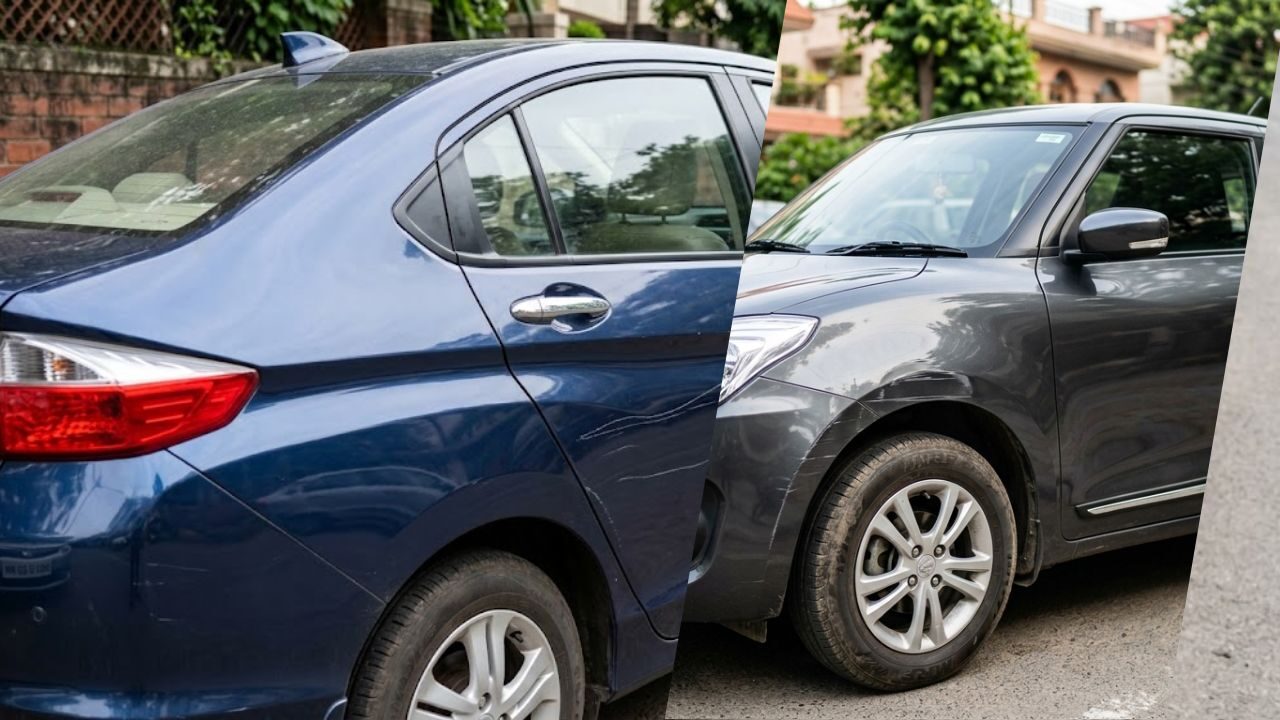
Car paint on latest cars is done by a layer of three distinct coatings. So, figuring out how deep the scratch in a car exactly will help to fix it safely without hurting the other coatings.
- Clear Coat Scratches (Level 1): Easy to fix because it is shallow cut on the top layer. If it seems to disappear when the car gets wet, it’s just a clear coat scratch.
- Primer Scratches (Level 2): It reached on the second layer of the coating and exposed the dull, often light-colored or gray primer underneath.
- Deep/Metal Scratches (Level 3): It is a disaster when you can see the silver body of your car. It’s needed your extra efforts to fix it and You’ll want to tackle this quickly to prevent rust from setting in.
How to check: Run your thumbnail gently across the scratch. If your nail glides right over it without catching, congratulations—it’s a surface-level clear coat scratch. If your nail catches or drops into a groove, it’s a deeper primer or metal scratch.
Read More :- DIY Car Care: Simple Checks to Keep Your Vehicle Running Smoothly
How to Remove Scratches from Car Surface
No matter how deep your car gets scratches, you can remove them with these methods and enough effort. These methods are applied according to the scratches level.
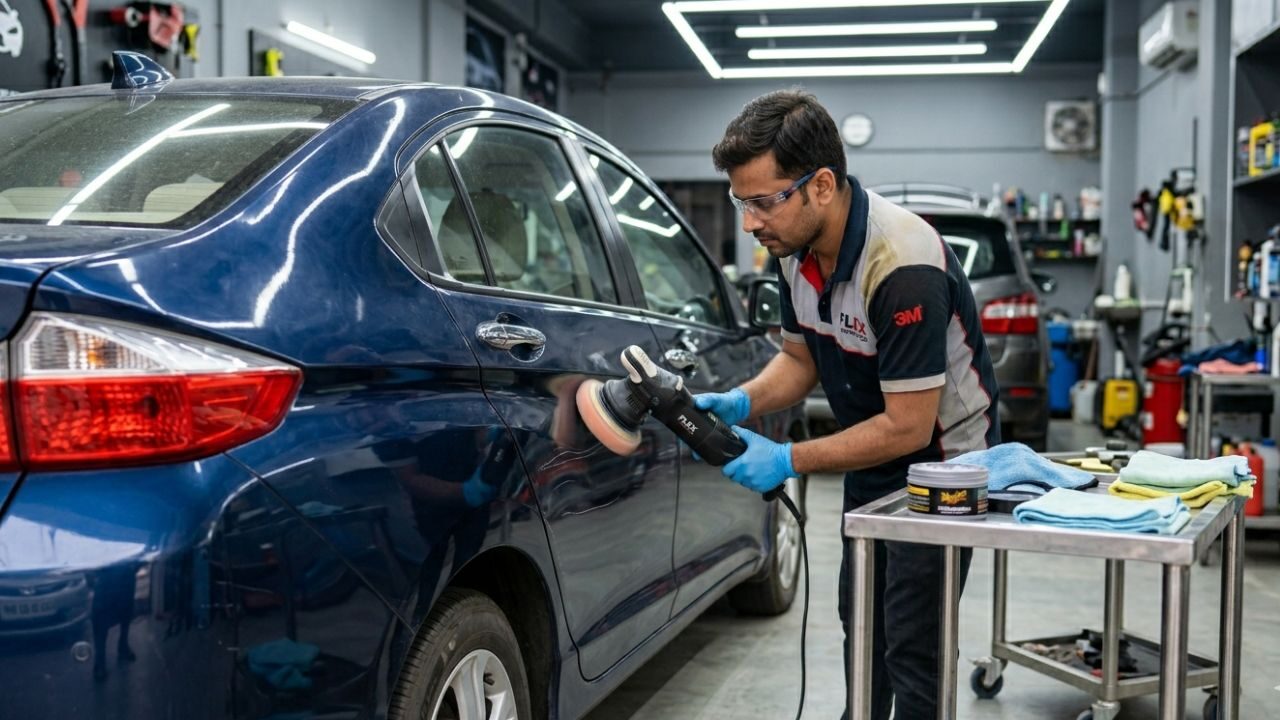
Method 1: The Quick Fix for Light Clear Coat Scratches
After passing the thumbnail test, you immediately have to begin getting yourself ready to take out the very light car scratch within twenty minutes with a normal scratch remover product.
Materials You’ll Need:
- Car wash soap and clean microfiber towels
- A mild scratch removal compound (Meguiar’s Ultimate Compound or 3M are great, reliable options)
- A foam applicator pad
- Your favorite car wax
The Step-by-Step Process:
- Wash and Dry Scratch Part: To eliminate dust and grim. If you buff a car when it’s dirty then your car paints along with tiny dirt particles, creating hundreds of new swirl marks.
- Apply the Compound: Take a foam applicator pad and put a quarter-sized amount of the scratch remover on it.
- Use a Little Elbow Grease: Rub the compound on the scratch using circular motion. Use your hand at a 45-degree angle to the scratch rather than straight along it. This ensures the product fills and levels out the sharp edges of the scratch.
- Wipe and Inspect: Buff away the extra foam from the area with a clean microfiber towel. Take a look. Is it still visible? If it’s fading but still there, give it another round.
- Add New Protective Wax Layer: Applying the compound will eliminate the car’s protective wax layer. So, put on a new layer of wax or ceramic spray to reconstruct the protective layer to protect the freshly polished paint.
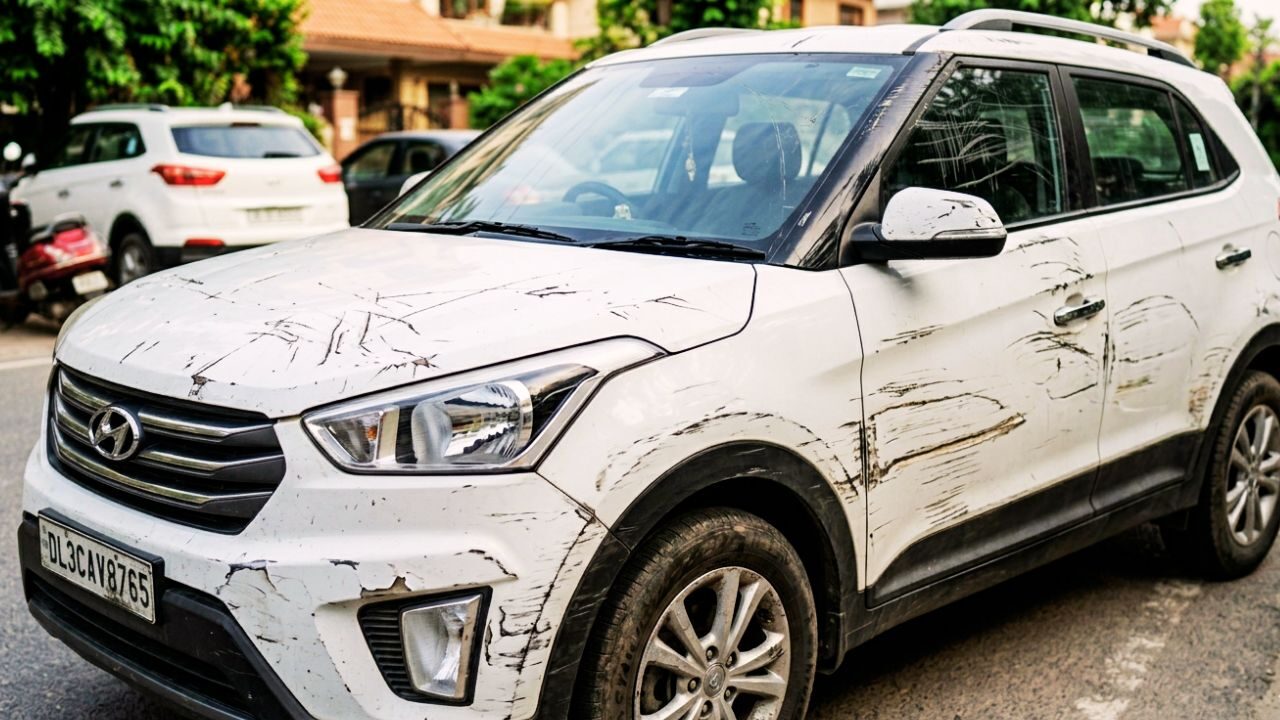
Method 2: The Toothpick Trick for Deep Scratches
When a scratch exposes the primer or bare metal, buffing won’t save you because the paint is physically gone. You need to fill that tiny valley back up with fresh paint.
Materials You’ll Need:
- Check the car’s driver-side door jamb for the exact paint color code.
- If the scratch shows a metal then Automotive primer is needed.
- Isopropyl alcohol is optional but can be good for cleaning.
- Fine-grit sandpaper (2000 or 3000 grit)
- A standard toothpick (trust me on this)
Read More:- How to Maintain Your Car Engine Properly
The Step-by-Step Process:
- Prep and Clean the Scratch: Use isopropyl alcohol for cleaning the wound of the car. It will remove the old wax, oil, and road dirt. If you notice rust anywhere on that scratch then use sandpaper or a small knife to gently scrape it before moving on.
- Apply Primer (If Metal is Exposed): This is where you are going to use that toothpick to put a machine primer into the base of the scratch. Give it 30 minutes to dry and don’t fill it to the top yet.
- Layer the Touch-Up Paint: Shake the paint and apply it with your toothpick instead of the brush attached to the cap. Take a tiny dip of drop of paint and apply it into the scratch. The paint will naturally flow into the groove. Keep making a layer of paint until it’s slightly higher than the surrounding paint.
- Sand and Smooth the Area: Once the paint becomes solid dry, wrap your sandpaper into a small block and wet with soapy water to rub the paint using very light pressure. Keep the area wet and sand just until the new paint sits perfectly flush with the old paint.
- Buff Back the Shine: When you look at the area where you are sanding, it will still look dull and hazy. To polish away the haze, grab your rubbing compound and a microfiber towel and do it with lighter hands until the high-gloss shine returns. In the end, apply a layer of wax and you are all set.
Critical Mistakes to Avoid
- Relying on the “Toothpaste Hack”: Small tricks on Youtube doesn’t give your car the exact look from before. Using regular white toothpaste for car scratches could be a silly choice and it can only let haze over a micro-scratch, it doesn’t have the lubricants found in actual car polishes. It can easily leave your paint looking dull and scratched if you over-scrub.
- Pressing Too Hard While Sanding: Wet sanding requires virtually zero downward pressure. Let the paper do the work. If you push too hard, you’ll cut straight through your factory clear coat, which will require an expensive trip to the paint booth.
- Eyeballing Your Paint Color: Never guess your paint color at the auto parts store. “Graphite Gray” from one car brand is completely different from another’s. Always look up your vehicle’s official color code on the sticker inside your driver’s door jamb.
Fixing a scratch is a time taking job but looking over your car again without an ugly blemish is quite satisfying. Don’t lose patience, just follow the instructions carefully, and watch the scratches disappear right before your eyes.
Read More:- Nicholas Pooran Car Collection: IPL Champion Owns Cars That Suits His Lifestyle
Conclusion of How to Remove Scratches from Car
Car scratches may look frustrating, but most of them can be quickly fixed at home without spending high costs on repairing shops. If your weekend is boring and nothing to do on the list, you can grab a list of materials that are required to fix the car scratch.
Clear instructions and materials are necessary to remove scratches from cars. Understanding How to Remove Scratches from Car Surfaces will not just save your money but also give you a chance to tackle small things on your own. This is the best way to invest your free time rather than scrolling down on social media.